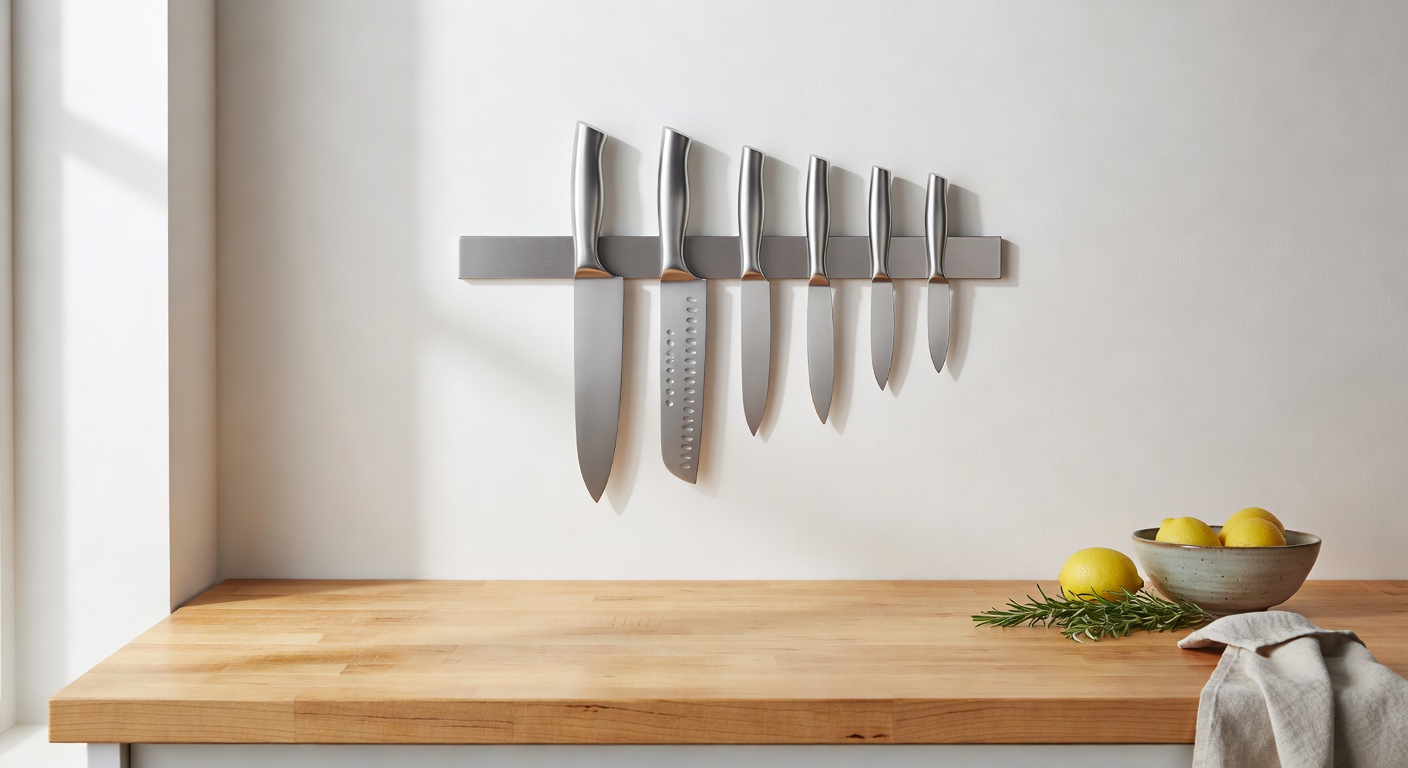
A magnetic strip keeps your knife collection accessible, safe, and properly air-dried — the professional chef's preferred storage solution.
Master the art and science of knife work and preparation sequencing — the cornerstone skills of every efficient kitchen.
A magnetic strip keeps your knife collection accessible, safe, and properly air-dried — the professional chef's preferred storage solution.
Follow this sequence every time you begin meal preparation. With practice, it becomes second nature — a ritual that sets the stage for great cooking.
Before touching a knife, assemble every ingredient the recipe requires. Check quantities, identify what needs to be retrieved from cold storage, and lay everything out on your prep counter. This prevents mid-preparation interruptions that disrupt flow and lead to mistakes.
Move all produce through the wet zone. Wash under running water, inspect each item for blemishes or spoilage, and set aside anything that needs trimming. Pat dry items that will be cut — moisture on the cutting board creates slip hazards.
Group ingredients by the type of preparation they require: items to be peeled together, items to be roughly chopped together, items requiring fine cuts together. This batching approach minimizes tool changes and keeps your workflow efficient.
Always begin with the largest cuts and work down to the finest. Large vegetables and proteins first, medium aromatics second, herbs and fine garnishes last. This sequence means you're never reaching past delicate, already-prepped items to hack at something large.
As each ingredient is prepped, transfer it to a dedicated small bowl or prep dish. Arrange these in the order they'll enter the pan or pot. This is the mise en place system — "everything in its place" — borrowed directly from professional kitchens.
Any prepped items not being used immediately should be transferred to labeled containers and refrigerated. Prepped vegetables can last 3–5 days; prepped proteins, 1–2 days. Labeling with date and contents is non-negotiable for safe, efficient storage.
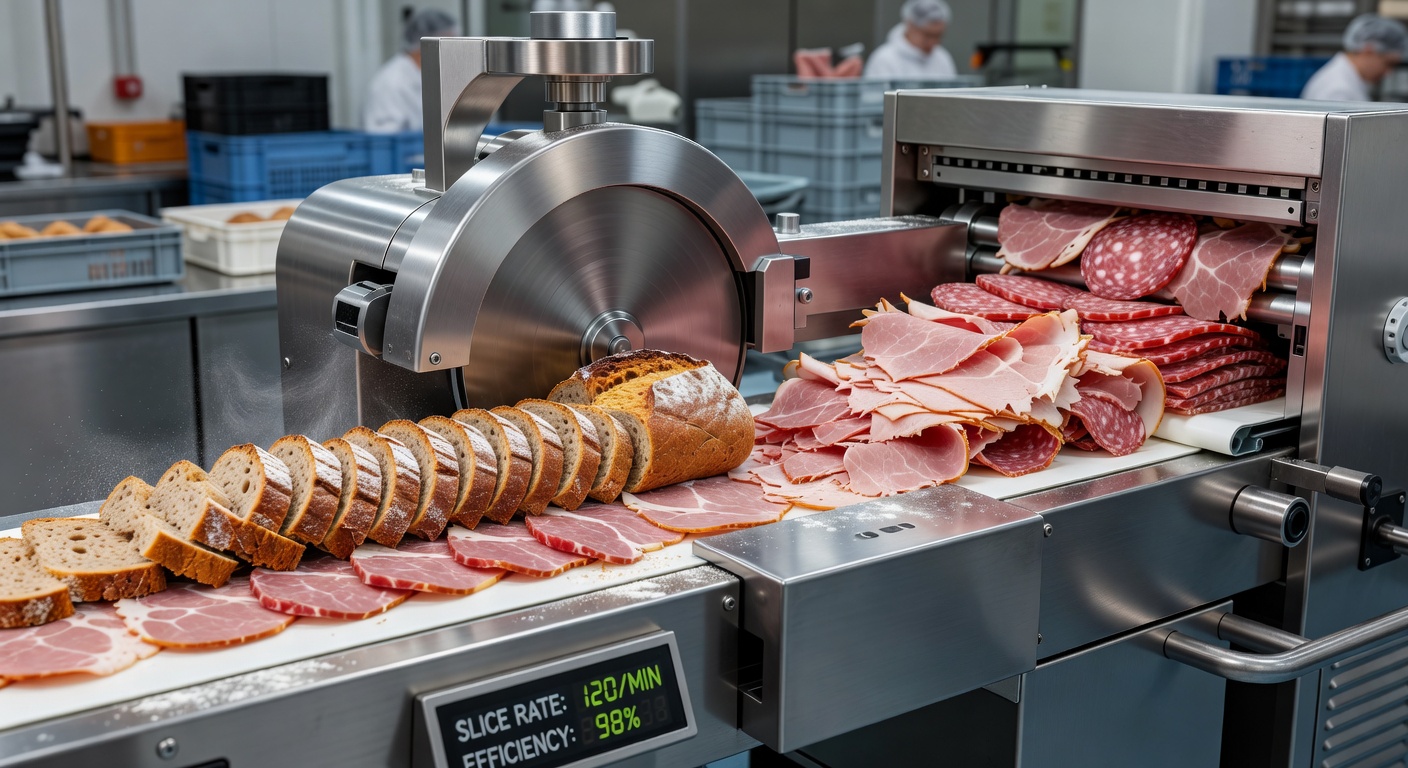
For high-volume, repetitive slicing tasks — charcuterie boards, large batches of vegetables, uniform portion cuts — a mechanical slicer dramatically improves consistency and speed.
The golden rule: use a machine when the volume justifies the setup and cleanup time. A slicer requires thorough cleaning after each use. For fewer than 10–12 slices, the knife is almost always faster.
Always use the guard, keep fingers curled away from the blade, and never rush. Consistent pressure produces consistent results.
Mastering these classic cuts gives you the vocabulary to execute any recipe with precision and speed.
Long, thin matchstick cuts approximately 3mm x 3mm x 6cm. Used for stir-fries, salads, and garnishes. Square the vegetable first, slice into planks, then stack and cut into fine strips.
Thin ribbon slices of herbs or leafy greens. Stack the leaves, roll them tightly, and cut across the roll into fine threads. Perfect for basil, mint, and spinach.
Tiny 3mm cubes cut from julienne strips. The finest standard dice, used in fine dining for garnishes and mirepoix. Requires precision and a sharp knife.
5mm cubes, the standard medium dice. Ideal for soups, stews, and salads where uniform cooking and presentation matter. Begin with planks, then batons, then cubes.
Flat, roughly 12mm square pieces cut from each side of the vegetable. Used in rustic soups and slow-cooked dishes where texture matters more than uniformity.
Rolling the vegetable a quarter turn between each cut creates irregular, angled pieces with more surface area. Excellent for root vegetables in roasting and stir-frying.
A sharp knife in a skilled hand is safer than a dull one. These principles protect you and preserve your tools.
A dull knife requires more force and is more likely to slip. Hone before every use and sharpen regularly. A sharp edge cuts through food, not around it.
The "claw grip" — fingertips curled inward, knuckles guiding the blade — is the single most important technique for preventing cuts. Practice until it's instinctive.
Place a damp cloth or non-slip mat under the cutting board. A sliding board is a safety hazard. Secure everything before the first cut.
If a knife falls, step back and let it fall. Attempting to catch a falling blade almost always results in a cut. The floor is easier to clean than a wound.